
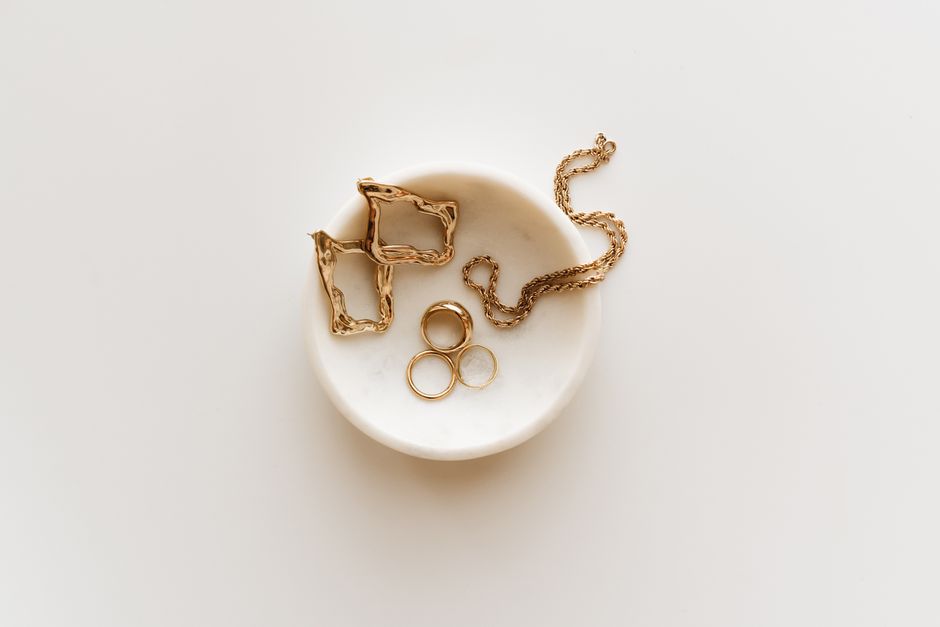
Why Jewelry Photography Can Make or Break Your Brand
You've spent weeks perfecting your design — refining curves in CAD software, approving wax models, overseeing the casting process, and hand-finishing every surface. But when the final piece ends up in a blurry, poorly lit photograph, all of that craftsmanship becomes invisible. For jewelry designers, independent brands, and retailers sourcing custom pieces, professional jewelry photography for your portfolio is just as important as the manufacturing process itself.
Whether you're pitching to wholesale buyers, updating your e-commerce store, or building a lookbook for your next collection, these practical tips will help your pieces look as stunning in photos as they do in person.
Setting Up the Right Lighting for Jewelry Photography
Lighting is everything when it comes to photographing fine jewelry and custom pieces. Metals reflect harshly, gemstones need light to show their depth, and shadows can either flatter or destroy a piece's structure.
- Use a lightbox or diffused LED panels to eliminate harsh shadows and create even, soft illumination — ideal for silver, gold, and rhodium-plated pieces.
- Avoid direct flash, which creates hot spots on polished metal surfaces and washes out stone color.
- Try natural window light on overcast days for a clean, neutral look that works especially well for minimalist gold jewelry photography.
- For pieces with gemstones, add a small side light or reflector to bring out sparkle and fire in diamonds, rubies, or sapphires.
Choosing the Right Background and Props
Backgrounds shape the entire mood of your portfolio. When photographing handcrafted jewelry collections, keep it simple and intentional.
- White or light grey seamless paper is the industry standard for clean, catalog-style product shots.
- Textured surfaces like matte marble, raw linen, or brushed concrete add a lifestyle feel without competing with the jewelry.
- Avoid busy patterns or strong colors that shift the perceived tone of your metals or stones.
- Use ring cones, bust forms, or simple acrylic stands to display rings, necklaces, and bracelets at flattering angles.
"The best jewelry photo is one where the viewer forgets they're looking at a photograph — they just want to reach through the screen and pick the piece up."
Camera Settings and Equipment Tips
You don't need a professional studio to take portfolio-quality shots, but a few technical adjustments go a long way for high-resolution jewelry product photography.
- Use a macro lens or macro mode to capture fine details like milgrain edges, pavé settings, and surface textures from CAD-manufactured pieces.
- Shoot at f/8 to f/11 for maximum sharpness across the entire piece.
- Always use a tripod — even slight camera shake is amplified at close range.
- Set your white balance manually to avoid orange or blue color casts that misrepresent your metal finishes.
Post-Processing: Enhance Without Deceiving
Light retouching in Lightroom or Photoshop can help your pieces shine without misrepresenting them to buyers. Adjust exposure, correct white balance, and sharpen fine details. However, avoid over-editing stone colors or removing natural inclusions in ways that create unrealistic buyer expectations — this is especially important when presenting custom-manufactured jewelry to wholesale clients.
From Workshop to Portfolio: Telling the Full Story
At JewelCAD Design Ltd, we work with designers and brands who care deeply about how their pieces are presented at every stage — from the initial CAD rendering to the finished cast piece. Consider including process photography in your portfolio alongside the final product shots. Images of wax models, CAD renders, and casting stages build trust with buyers and communicate the quality behind your brand.
If you're ready to bring your next collection to life with precision CAD design, 3D printing, and expert casting services from Bangkok, get in touch with our team to discuss your manufacturing needs.